> For the complete documentation index, see [llms.txt](https://chatkitty-1.gitbook.io/chatkitty/llms.txt). Markdown versions of documentation pages are available by appending `.md` to page URLs; this page is available as [Markdown](https://chatkitty-1.gitbook.io/chatkitty/chat-functions/overview.md).
# Overview
ChatKitty provides Chat Functions, serverless cloud functions that allow you to define custom logic for complex tasks like user authentication, and respond to chat events that happen within your application.
Chat Functions let you write arbitrary code that runs any time a relevant event or action happens inside your app. You can send push notifications, create emails or make HTTP calls to your backend, as well as use a pre-initialized server-side ChatKitty SDK to make changes to your application in response to user actions.
You can create, edit, test, and deploy chat functions from the [ChatKitty dashboard](https://dashboard.chatkitty.com/functions).
{% hint style="info" %}
To define ChatKitty Chat Functions, you'll need to be familiar with basic TypeScript or JavaScript.
{% endhint %}
## Blocking vs non-blocking chat functions
A chat function can be blocking or non-blocking, depending on its trigger type.
Blocking chat functions run synchronously before an action related to your ChatKitty application and can be used to *modify the behavior* of your application.
Non-blocking chat functions run after an action related to your ChatKitty application happens and can be used to include additional functionality or integrate an external system with your ChatKitty application.
### Blocking chat functions
#### User attempted start session
This function is triggered when a user attempts to connect to ChatKitty, starting a new *user chat session*. Inside this function you can define custom logic to authenticate the user, check their credentials, create the user's ChatKitty profile or hook into your own backend. This function get passed in the username of the user attempting to start a session, and any authentication parameters you include client-side using the `authParams` property.
### Non-blocking chat functions
#### User received notification
This function is triggered after a chat event a user should be notified about, (like a message sent in a channel they belong into, or a reaction on their message) occurs. Inside this function you can define custom logic to notify the user of the event that occurred (for example using an email sender or push notification service). This function get passed in the user that received the notification, the notification received, and a boolean true if the user is currently online.
## Defining a chat function
You can define chat functions from the "Functions" page of your ChatKitty application dashboard.

Every chat function has two input parameters, an **event** that triggered the chat function call with event data, and a **context** containing chat function and application-specific data and helper objects, including pre-initialized [ChatKitty Platform API](https://chatkitty.github.io/chatkitty-server-side-sdk-js/) clients.
Only events of a specific corresponding type can trigger a chat function. These types are referenced as **trigger types**. For example, whenever a user receives a ChatKitty notification, a `UserReceivedNotificationEvent` event is created. If you've defined a chat function with its corresponding trigger type, "User Received Notification", then the chat functions get called with the created `UserReceivedNotificationEvent`.
Chat functions automatically run when an event of their trigger type occurs.
{% hint style="info" %}
After saving a new chat function version using the code editor, your chat function gets deployed.
{% endhint %}
## Your Chat Runtime
Your chat runtime provides the environment your chat functions run. This includes a pre-initialized [ChatKitty Server-side SDK](https://chatkitty.github.io/chatkitty-server-side-sdk-js/), dependency NPM modules, environment variables and custom code that executes before each function.
You can use any [NPM](https://www.npmjs.com/) package inside your Chat Functions as a Chat Runtime dependency.
### Adding a chat runtime dependency
To add a chat runtime dependency, from your ChatKitty application dashboard, go to the "Functions" page:
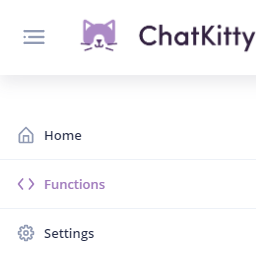
Then from the "Functions" page, go to the "Runtime" tab:
From the "Runtime" tab you can add a new dependency using the name of the NPM package you want to install and the version of the package you want to install.
For example, installing version `7.24.0` of [the Firebase NPM package](https://www.npmjs.com/package/firebase) looks like this:

Using the package name `firebase` and the package version `7.24.0`.
An equivalent `npm` command for this would be `npm install firebase@7.24.0`.
Aftering installing a chat runtime dependency, you can import it into your chat functions and initialization script using the CommonJS require function.
{% hint style="warning" %}
Remember to click the "Save" icon to confirm your chat runtime dependencies changes.
{% endhint %}
### Adding a chat runtime initialization script
If you need to run initialization logic before running your chat function, you can add arbitrary code using a chat runtime initialization script.
To add an initialization script, from the "Runtime" tab of the "Functions" page, click the dropdown and select "Initialization Script".
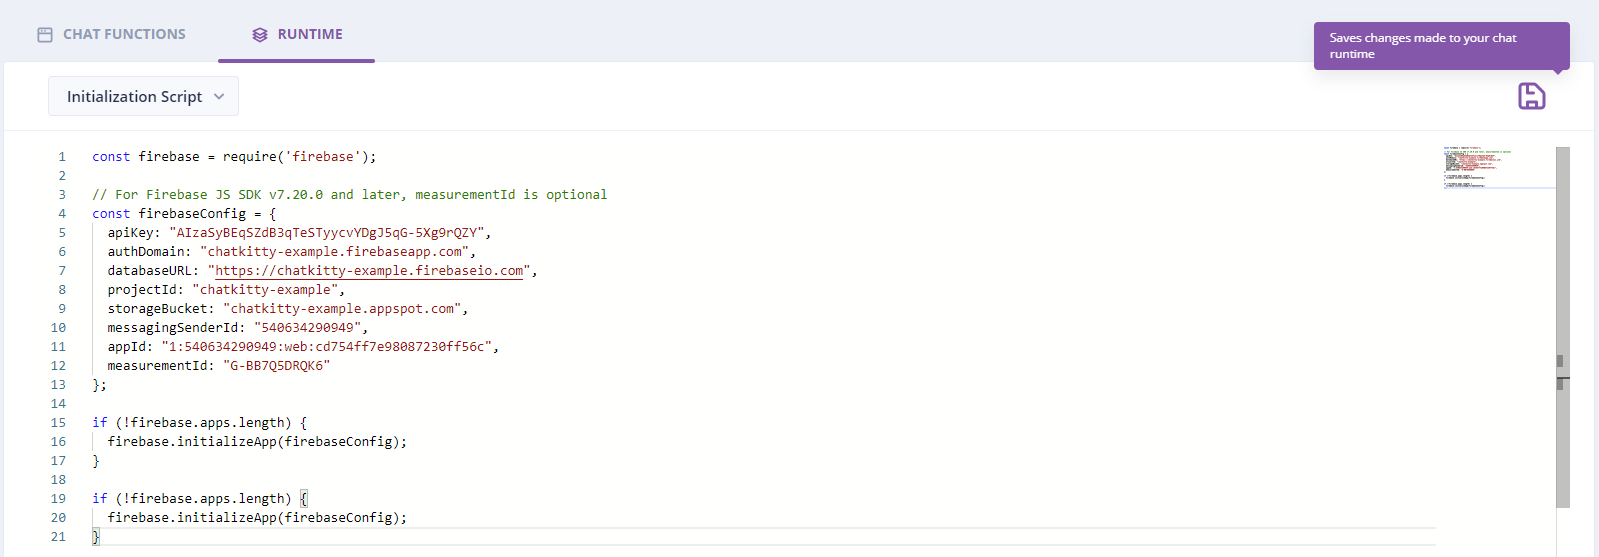
{% hint style="warning" %}
Remember to click the "Save" icon to confirm your chat runtime initialization script changes.
{% endhint %}